If you haven’t read the introductory post on jsTree, I would recommend reading the Example of simple jsTree with static JSON data.
There is a very little change to make the jsTree work with context menu feature. jsTree has multiple plugins to enable different features. In this case, we will use “contextmenu” plugin to enable this feature.
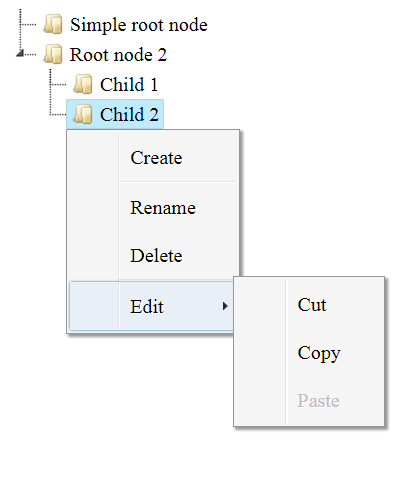
Once context menu is added as a plugin, you will get the below default menu.

For getting the default menu, working below is the simple code that will work with it.
Do not forget to make “check_callback” as true to work with the menu action.
Now, if you want to override the default menu, you need to mention that in the jstree.
There is other feature available; you can explore them from here https://www.jstree.com/api/#/?q=search
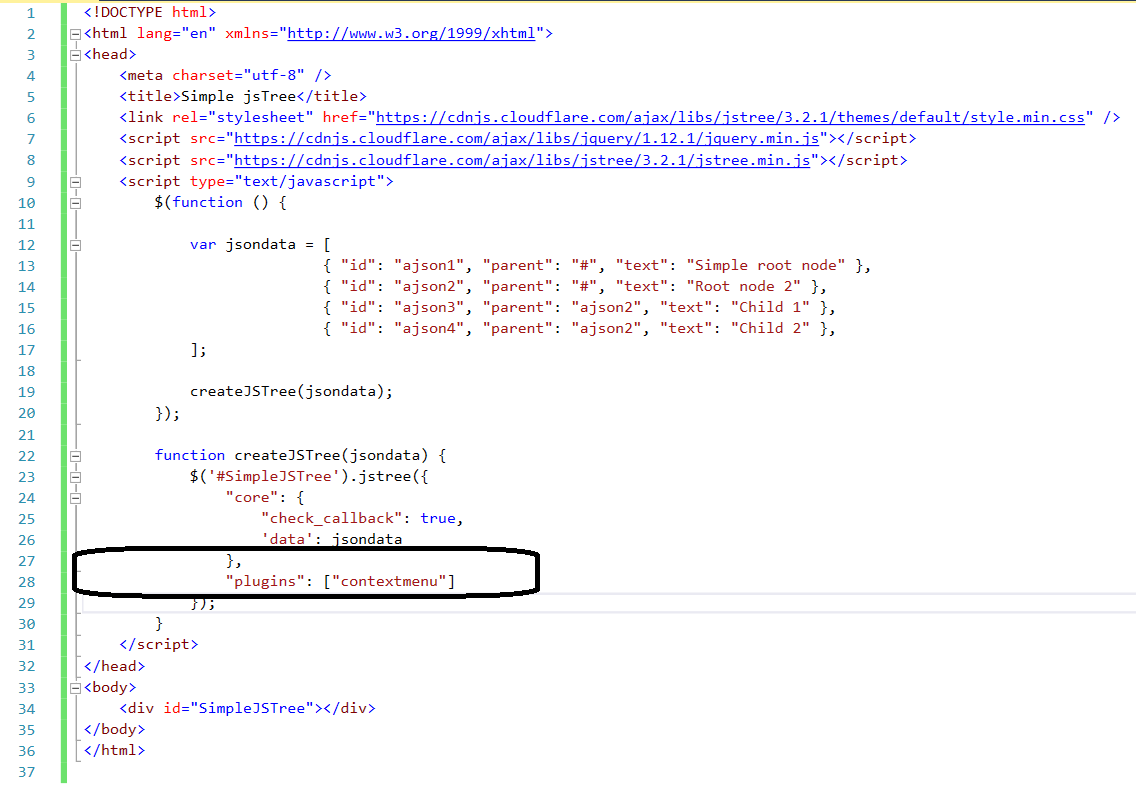
My example of the simple jsTree is below. I have highlighted the important piece of information that is tricky.

Code file is below, so that you copy it and can be tested.
<!DOCTYPE html>
<html lang="en" xmlns="http://www.w3.org/1999/xhtml">
<head>
    <meta charset="utf-8" />
    <title>Simple jsTree</title>
    <link rel="stylesheet" href="https://cdnjs.cloudflare.com/ajax/libs/jstree/3.2.1/themes/default/style.min.css" />
    <script src="https://cdnjs.cloudflare.com/ajax/libs/jquery/1.12.1/jquery.min.js"></script>
    <script src="https://cdnjs.cloudflare.com/ajax/libs/jstree/3.2.1/jstree.min.js"></script>
    <script type="text/javascript">
        $(function () {

            var jsondata = [
                           { "id": "ajson1", "parent": "#", "text": "Simple root node" },
                           { "id": "ajson2", "parent": "#", "text": "Root node 2" },
                           { "id": "ajson3", "parent": "ajson2", "text": "Child 1" },
                           { "id": "ajson4", "parent": "ajson2", "text": "Child 2" },
            ];

            createJSTree(jsondata);
        });

        function createJSTree(jsondata) {
            $('#SimpleJSTree').jstree({
                "core": {
                    "check_callback": true,
                    'data': jsondata
                },
                "plugins": ["contextmenu"]
            });
        }
    </script>
</head>
<body>
    <div id="SimpleJSTree"></div>
</body>
</html>
The outcome will be like below

- 4874 reads
